Transforming your yard with turf and pavers sounds straightforward and exciting. Yet more than half of DIY projects end up needing costly fixes later because of overlooked steps or miscalculated material amounts. The surprising reality is that the real secret to a flawless, long-lasting outdoor space starts long before you roll out any turf or lay a single paver. Most homeowners can sidestep expensive mistakes with one simple move—and you’re about to see how.
Table of Contents
- Step 1: Assess Your Outdoor Space Requirements
- Step 2: Prepare The Site For Turf And Pavers Installation
- Step 3: Measure And Cut Turf And Pavers Accurately
- Step 4: Install Turf And Pavers With Proper Techniques
- Step 5: Water And Maintain The Installed Area
- Step 6: Verify Stability And Aesthetic Quality
Quick Summary
| Key Point | Explanation |
|---|---|
| 1. Measure and Analyze Your Space | Start with precise measurements of your area to avoid costly mistakes and ensure proper material calculations. |
| 2. Prepare Ground Thoroughly | Clear the area of debris and achieve a solid base for turf and pavers to enhance durability and appearance. |
| 3. Cut Turf and Pavers Precisely | Use sharp, specialized tools for accurate measurements and cuts, ensuring a seamless and professional installation. |
| 4. Install with Attention to Detail | Follow proper techniques for laying turf and pavers, checking alignment and consistency throughout the installation process. |
| 5. Establish Maintenance Routines | Begin immediate watering and implement long-term care strategies to support healthy turf growth and maintain paver appearance. |
Step 1: Assess Your Outdoor Space Requirements
Successfully installing turf and pavers begins with a comprehensive assessment of your outdoor space. This critical first step will determine the success and longevity of your landscaping project, ensuring that your investment transforms your yard into a functional and beautiful environment.
Measuring and Analyzing Space Dimensions
Start by carefully measuring the total area where you plan to install turf and pavers. Use a professional measuring tape to capture precise dimensions, noting length, width, and any irregular shapes or contours. Sketch a rough diagram of your outdoor space, including existing structures like patios, garden beds, or walkways that might impact your installation. Accurate measurements prevent costly mistakes and help you calculate exact material requirements.
Evaluating Terrain and Ground Conditions
Before purchasing materials, thoroughly examine your ground conditions. Check for slope, drainage patterns, and soil composition. Areas with significant slope might require additional ground preparation or terracing to create a stable surface for turf and pavers. Clay soils, sandy terrains, or areas with poor drainage can dramatically affect installation techniques and long term durability. Consider conducting a basic soil test to understand potential challenges.
Key factors to assess include:
- Sunlight exposure throughout the day
- Current ground elevation and drainage
- Proximity to irrigation systems
- Underground utility locations
By meticulously evaluating your outdoor space, you create a solid foundation for a successful turf and paver project that will enhance your property’s aesthetic and functional value.
To help you prepare efficiently, the following table summarizes the essential tools and materials mentioned for each step, along with their primary purpose.
| Tool/Material | Step Used | Purpose |
|---|---|---|
| Professional measuring tape | Assess & Measure | Obtain precise area measurements |
| Plate compactor | Site Preparation | Compact soil and base for stability |
| Landscaping rake | Site Preparation | Level soil and spread base material |
| Utility knife (sharp blade) | Turf Cutting | Clean, accurate turf cuts |
| Wet saw with diamond blade | Paver Cutting | Cut pavers with precision and minimal chipping |
| Masonry chisel and hammer | Paver Cutting | Fine adjustments for intricate paver shapes |
| Landscaping roller | Turf Installation | Ensure strong contact between turf and soil |
| Rubber mallet | Paver Installation | Position and align pavers without damage |
| Polymeric sand | Paver Maintenance | Fill paver joints and prevent weed growth |
| Garden shears | Finishing Touches | Trim turf edges for a clean, finished look |
Step 2: Prepare the Site for Turf and Pavers Installation
Site preparation is the foundation of a successful turf and pavers project. This critical stage transforms your raw outdoor space into a stable, well-graded surface ready for professional installation. Proper preparation ensures your new landscape will look stunning and withstand years of use.
Clearing and Grading the Installation Area
Begin by completely clearing the designated area of existing vegetation, rocks, debris, and any obstacles. Use a professional-grade shovel, rake, and potentially a small mechanical tiller to remove grass, weeds, and root systems. Focus on creating a clean, level surface that provides a solid foundation for your turf and pavers. Pay special attention to removing large rocks, roots, and uneven ground that could compromise the installation.
Ground Preparation and Soil Management
After clearing, focus on ground leveling and soil conditioning. Use a landscaping rake and a plate compactor to create a smooth, compact surface with proper drainage. Add a layer of crushed stone or gravel as a base material, typically 2-4 inches thick, which provides excellent drainage and stability. Compact this base thoroughly to prevent future settling that could disrupt your turf and paver installation. If your soil is particularly clay-heavy or prone to poor drainage, consider adding sand or specialized drainage materials to improve ground conditions.
Key preparation tasks include:
- Removing all existing vegetation
- Establishing proper ground slope for water runoff
- Compacting the base material
- Checking and correcting ground levelness
University of Florida IFAS Extension emphasizes the importance of thorough site preparation as a critical step in creating a durable and attractive landscape. By investing time in meticulous ground preparation, you set the stage for a beautiful, long lasting turf and paver installation that will enhance your outdoor living space.
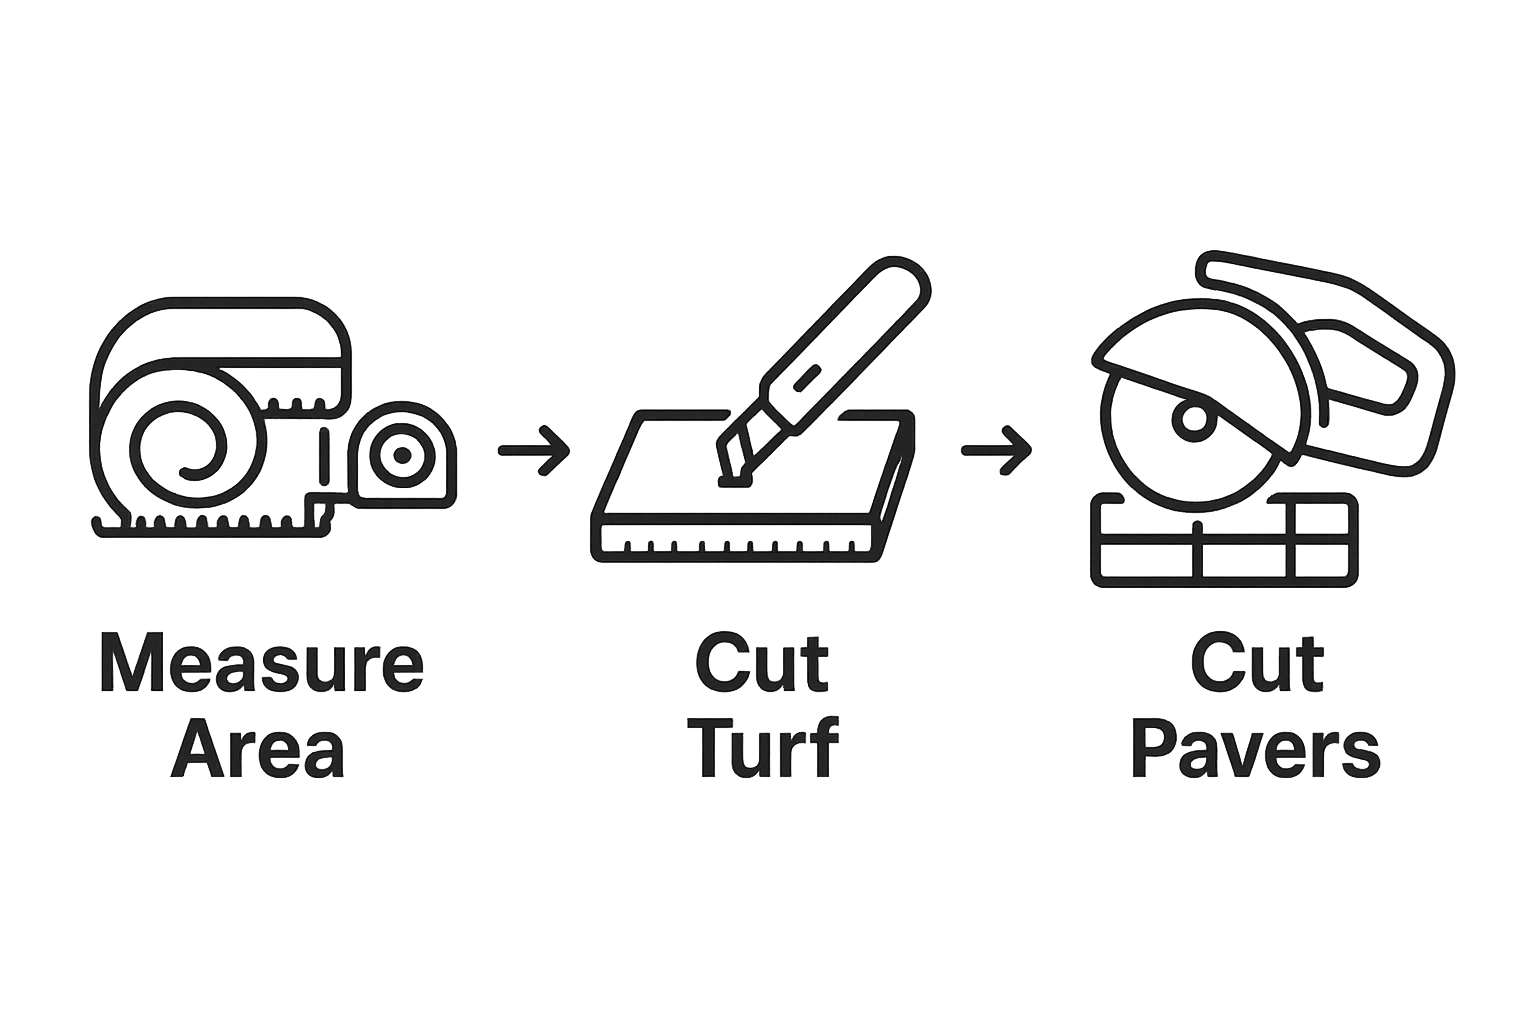
Step 3: Measure and Cut Turf and Pavers Accurately
Precision is the cornerstone of a professional turf and paver installation. Accurate measurements and strategic cutting ensure a seamless, aesthetically pleasing result that fits your outdoor space perfectly. This step transforms your raw materials into a custom landscape solution.
Turf Measurement and Cutting Techniques
Begin by carefully measuring the prepared ground area using a professional measuring tape. Transfer your measurements to the turf roll, marking cutting lines with chalk or a white marking pencil. When cutting turf, use a sharp utility knife with a fresh blade to ensure clean, straight edges. Work methodically, making multiple light passes rather than attempting to cut through the entire turf thickness in one stroke. This approach provides greater control and prevents ragged edges that could compromise the installation’s appearance.
Paver Cutting and Fitting Strategies
Pavers require equally precise cutting to create a perfect fit around edges, curves, and existing structures. Use a wet saw with a diamond blade for the most professional results, which provides clean cuts and minimizes chipping. Wear safety glasses and work gloves during cutting. For smaller adjustments or intricate cuts, a masonry chisel and hammer can help fine-tune paver shapes. Always measure twice and cut once, leaving a small margin for potential adjustments. Create a dry layout of your pavers before final installation to verify fit and design, allowing you to make precise cuts that create a seamless, professional-looking surface.
Key cutting considerations:
- Use sharp, specialized cutting tools
- Measure multiple times before cutting
- Create a dry layout before final installation
- Allow for small margin of error
University of Missouri emphasizes the importance of precision in landscape installations, noting that accurate measurements are crucial for achieving professional results. By investing time in careful measurement and cutting, you ensure a stunning, custom outdoor space that reflects your design vision.
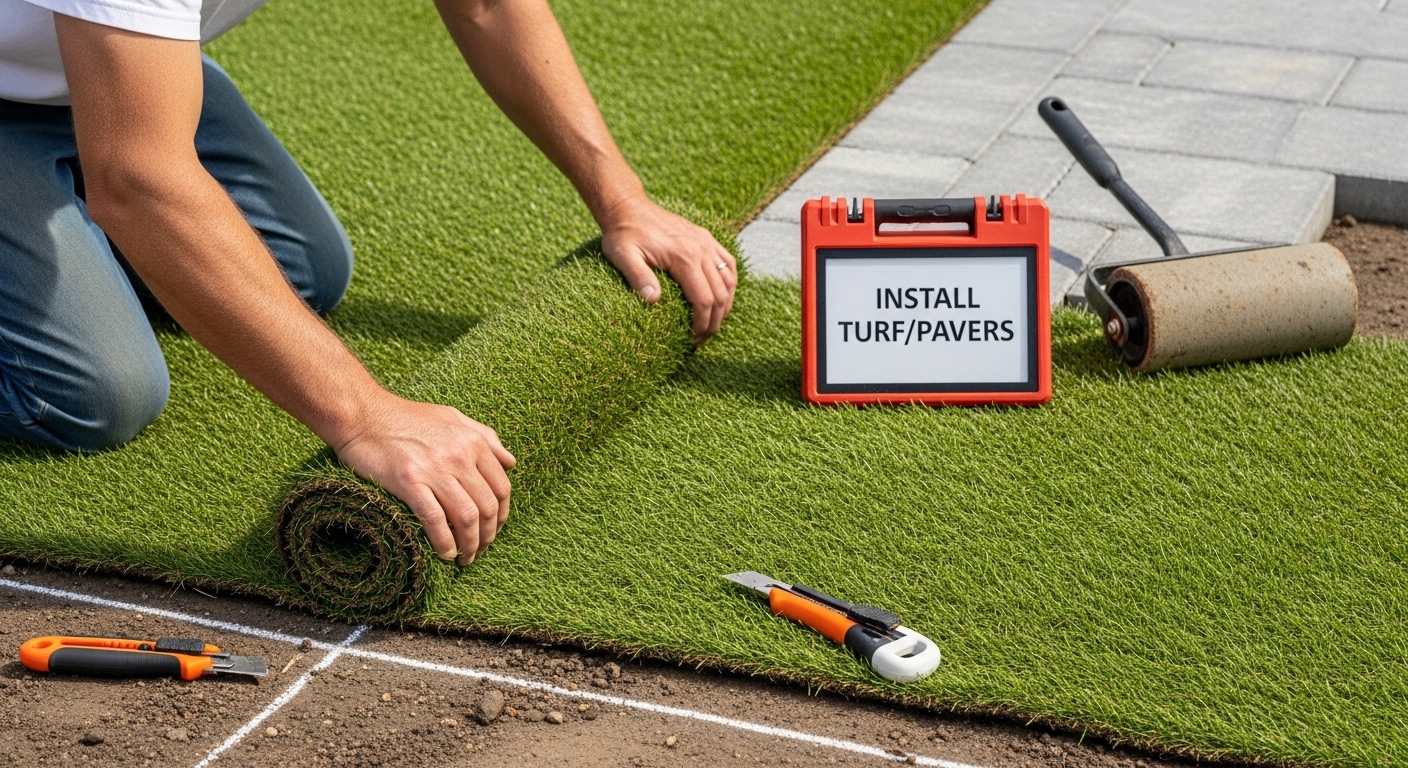
Step 4: Install Turf and Pavers with Proper Techniques
Installing turf and pavers requires precision, patience, and a methodical approach. This critical stage transforms your carefully prepared ground into a beautiful, functional outdoor space that will serve you for years to come. Success depends on careful technique and attention to detail throughout the installation process.
Laying the Foundation for Turf Installation
Begin by spreading a thin layer of high-quality topsoil across your prepared ground, creating a smooth, even surface about half an inch thick. This provides an ideal growing medium for your new turf. Carefully unroll the turf sections, working systematically from one edge of the area to the other. Ensure each section is placed tightly against the previous one, with no gaps or overlaps. Use a landscaping roller to press the turf firmly, establishing strong contact between the turf roots and the underlying soil. This critical step helps prevent air pockets and promotes rapid root establishment.
Paver Placement and Alignment Techniques
For paver installation, start at the lowest point of your designated area, typically near a drainage point or along a straight edge. Use a rubber mallet to gently tap each paver into place, maintaining consistent spacing and alignment. Create a stable base by adding a layer of fine sand, which allows for minor adjustments and provides drainage. Work methodically, checking level and alignment frequently using a long straightedge or laser level. Pay special attention to creating tight, uniform joints between pavers, which not only look professional but also prevent future shifting and settling.
Key installation considerations:
- Maintain consistent pressure during turf rolling
- Check alignment frequently during paver placement
- Use proper tools for precise installation
- Work systematically across the entire area
Clemson University Extension highlights the importance of proper installation techniques, noting that careful placement and initial care significantly impact the long-term success of your landscaping project. By following these methodical steps, you create a durable, attractive outdoor space that will enhance your property’s aesthetic and functional value.
Step 5: Water and Maintain the Installed Area
Proper watering and maintenance are crucial for establishing a healthy, vibrant turf and paver landscape. This final step transforms your installation from a new project into a thriving outdoor environment that will look beautiful and function effectively for years to come.
Initial Watering and Establishment Techniques
Begin watering your newly installed turf immediately after placement. Use a gentle sprinkler or soaker hose to provide consistent, even moisture without causing soil erosion or turf displacement. The goal is to keep the soil beneath the turf consistently moist but not waterlogged. During the first two weeks, water deeply and frequently, typically 2-3 times daily for shorter durations. This approach encourages root development and helps the turf establish a strong connection with the underlying soil. Monitor the turf edges and seams carefully, as these areas tend to dry out more quickly and require extra attention.
Long-Term Maintenance Strategies
As your turf and pavers settle, transition to a more strategic maintenance approach. For turf, gradually reduce watering frequency while increasing water volume, which encourages deeper root growth. Apply a balanced lawn fertilizer during the growing season to support healthy grass development. With pavers, focus on maintaining joint sand and preventing weed growth. Use a polymeric sand to fill paver joints, which helps lock pavers in place and inhibit weed intrusion. Regularly sweep and clean the paver surface to prevent debris accumulation that could compromise the installation’s appearance and integrity.
Key maintenance considerations:
- Water deeply but less frequently as turf establishes
- Monitor soil moisture consistently
- Maintain even surface across turf and pavers
- Address any settling or uneven areas promptly
U.S. Environmental Protection Agency recommends strategic watering techniques that conserve water while supporting healthy landscape growth. By investing time in careful initial care and developing a consistent maintenance routine, you’ll create a stunning outdoor space that remains beautiful and functional for years to come.
Step 6: Verify Stability and Aesthetic Quality
The final verification stage transforms your installation from a technical project into a professional landscape. This critical assessment ensures that your turf and pavers not only look stunning but also provide long-lasting performance and structural integrity.
Surface Stability and Alignment Assessment
Begin by carefully walking across the entire installed surface, paying close attention to potential movement or unevenness. Use a long straightedge or laser level to check for any subtle variations in paver alignment or turf flatness. Gently press down on different areas, looking for any signs of shifting or instability. Slight irregularities are normal, but significant movement could indicate underlying installation issues that require immediate attention. For pavers, check that each piece sits firmly and maintains consistent joint spacing. With turf, look for any areas of uneven growth, air pockets, or separation from the underlying soil.
Aesthetic Quality and Finishing Touches
Critically examine the visual aspects of your installation. Step back and view the entire area from multiple angles, checking for color consistency in the turf and precise alignment of pavers. Use garden shears to trim any turf edges that appear uneven or extend beyond intended boundaries. For pavers, use a rubber mallet to make final minor adjustments, ensuring a seamless, professional appearance. Pay special attention to transitions between turf and paver areas, creating smooth, intentional connections that enhance the overall landscape design.
Key verification points:
- Check surface stability across entire area
- Verify consistent alignment and spacing
- Examine color and growth uniformity
- Address any minor imperfections immediately
University of Massachusetts Amherst emphasizes the importance of meticulous verification in landscape installations. By taking the time to carefully assess your turf and pavers, you ensure a professional-quality result that will provide beauty and functionality for years to come. Your attention to detail in this final step transforms a good installation into an exceptional outdoor space.
This checklist table helps you verify stability and quality after installation by breaking down the final assessment points into actionable checks.
| Verification Point | What to Check For | Action if Issue Found |
|---|---|---|
| Surface stability | No shifting or movement underfoot | Re-level or add support as needed |
| Alignment and spacing | Uniform paver and turf lines, consistent joints | Adjust placement for consistency |
| Turf color and growth uniformity | Even turf color, healthy growth across all sections | Address watering or fertilizing needs |
| Turf and paver transitions | Smooth, clean transitions between surfaces | Trim turf or re-align pavers |
| Minor imperfections | Small gaps, raised edges, uneven spots | Fill gaps, tamp down or re-adjust |
| Clean surface | Absence of debris, visible seams, or excess sand | Sweep and tidy up area |
Ready for Hassle-Free Turf and Paver Perfection in San Diego?
Have you spent hours researching how to measure, cut, and install your turf and pavers—only to find the process is far more complicated than it looks? The article above highlights every step needed to create a beautiful landscape, from site assessment and measurement to precise installation and long-term maintenance. But even with the best preparation, many homeowners and property managers discover that uneven surfaces, drainage issues, or improper cuts can ruin their project. If you are worried about making costly mistakes or want flawless results that last, why not trust skilled professionals? At Pro Value Contracting, we specialize in delivering turn-key outdoor upgrades that transform your vision into reality.

Stop struggling with DIY challenges and let Pro Value Contracting handle the hard work. Connect with our team for a free estimate or learn more about our turf and pavers services. With proven expertise and a reputation for quality, now is the perfect time to achieve the outdoor space you deserve. Visit us at https://provcontracting.com and take the first step toward a beautiful, durable landscape today.
Frequently Asked Questions
How do I assess my outdoor space for turf and paver installation?
Begin by measuring the total area using a professional measuring tape, noting dimensions and irregular shapes. Evaluate terrain and ground conditions, checking for slope, drainage, and soil composition.
What are the key steps for preparing the site before installing turf and pavers?
Clearing the area of vegetation and debris is essential. Level the ground, establish proper drainage, and compact the base material with a plate compactor. Adding crushed stone or gravel can also enhance stability.
What tools do I need to cut turf and pavers accurately?
You will need a sharp utility knife for turf, a wet saw with a diamond blade for pavers, and possibly a masonry chisel and hammer for smaller adjustments. Always measure multiple times before cutting to ensure accuracy.
How should I maintain my newly installed turf and pavers?
Initially, water the turf deeply but frequently to establish roots. Gradually reduce watering frequency while increasing the volume to promote deeper growth. For pavers, use polymeric sand for joints and keep the surface clean to prevent weed growth.
Recommended
- Pro V Turf & Pavers – Pro Value Contracting
- Fencing Portfolio – Pro Value Contracting
- Sample Page – Pro Value Contracting
- dev-admin – Pro Value Contracting
- 7 Essential Tips for Your Fall Lawn Care Checklist
- 7 Simple Garden Design Ideas for Beginners – Lushy Gardens


